

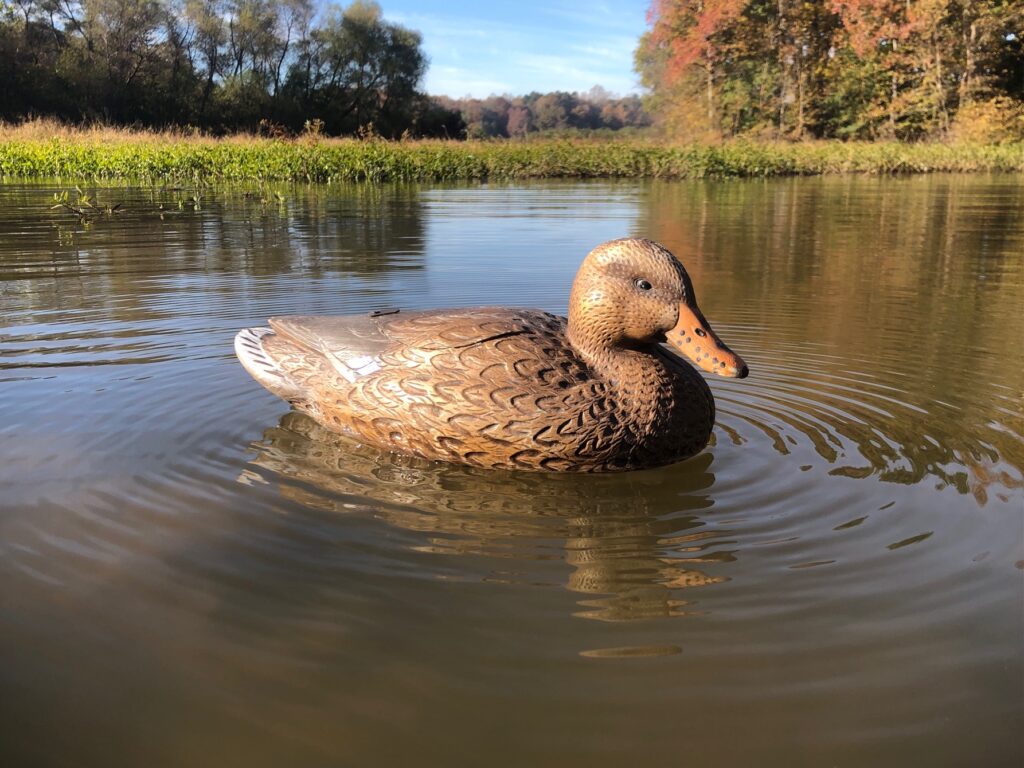
Motion in a decoy spread has proven to be one of the most important aspects of decoying ducks. With increasing hunting pressure and ducks becoming more educated, adding realism to your decoys can give you the advantage you need to finish ducks other hunters will watch fly by. A DIY rippler duck decoy can add motion to your decoy spread.
There are an array of motion decoys, some manual and some electronic. One of the simplest and easy to use electronic decoys is a rippler. Ripplers can be in the form of a small puck, a feeder butt, or even a full size decoy and will shake to put ripples on the water.
I’ve personally owned a couple of the puck-shaped ripplers and was never satisfied with the way they looked in the spread. I’ve even gone as far as sanding down the lids and painting them in neutral colors to avoid glare. They just don’t look like anything natural to me so how can I believe that a duck will fall for it? This offseason I decided to try to make a DIY rippler duck decoy.
Things You’ll Need To Make A DIY Rippler Decoy:
1 Rippler Puck (Lucky Duck Quiver Magnet) or Weasel Ball
1 Duck Decoy
2-3 Strips of Velcro
1 Tube of Epoxy
1 Small Hinge
5 Small Screws or Rivets
1 Dremel Tool with Cutting Wheel
1 Small Piece of Plastic or Wood (for latch)
The first step is to pick out an old decoy that you don’t mind cutting into. You can fully cut out a door and install a hinge afterward. Or you can simply make three cuts and leave the front of the hatch intact to eliminate the need for a hinge. You’ll want to attach the hinge so the front of the door presses against the front edge of the hole in the decoy. This will make your door open upward and not fall into the decoy. Install your hinge and now we’ll work on the latch. To make a latch all you need is a small rectangular piece of plastic or wood. Cut it into a small strip and screw one end onto the edge of the hole in the decoy.
Using A Rippler Puck
Now that you’ve made the necessary modifications to the decoy we will add the motion device. Most rippler pucks have an automatic switch that is activated by water. I’ve owned mine for a while now and one of them has started working without water and on the other, I removed the switchboard and hardwired the motor to the batteries. Doing this will allow the rippler to function immediately after inserting the batteries. When using a rippler puck I like to place it upside down and secure the lid with either velcro or epoxy. You can then unscrew and screw the base to lift it out of the decoy and replace the batteries.
Using A Weasel Ball
To use a weasel ball (a popular toy) you will first need to cut off the string that attaches the toy weasel to the ball. You can now turn on the ball, place it into a sealed plastic bag, and drop it into the decoy. Doing it this way will give you a more exaggerated wobble and fewer ripples. You can also get a little more involved and use expanding foam to fill the decoy. After this, you can carve out a tight-fitting compartment for the rippler magnet or weasel ball. This will keep the rippler or weasel ball from banging around inside the decoy. This method will also ensure your decoy does not sink if submerged.
Finishing Your DIY Rippler Duck Decoy
Now all you need to do to finish your DIY rippler duck decoy is paint any light edges or shiny hardware with a dull paint, preferably matching the decoy, install your batteries, and place the decoy into the water. This style of motion decoy is light, versatile, and doesn’t require large battery boxes or expensive pumps. Plus your new decoy will look as realistic as possible to passing waterfowl. Let us know if you have any ideas to improve on this design or if you have another motion decoy DIY you think we should try. Thanks for reading and happy hunting!